A few weeks ago I wrote about how I made a micro Canto pod. In this blog post, I’ll share how I recently updated my workflow to use KerasCV with Stable Diffusion 2 to generate the artwork for each episode. Previously, I was using Hugging Face Diffusers.
Using the KerasCV implementation of Stable Diffusion 2
This will be a very short blog post because using KerasCV was very easy especially because my use case is pretty simple.
I started by following this High-performance image generation using Stable Diffusion in KerasCV guide in a Colab notebook. In Colab, you need to pip / apt install a couple of things before importing libraries.
!pip install tensorflow keras_cv --upgrade --quiet
!apt install --allow-change-held-packages libcudnn8=8.1.0.77-1+cuda11.2

import time
import keras_cv
from tensorflow import keras
import matplotlib.pyplot as plt
And then you can instantiate the Stable Diffusion 2 model. Note that in the guide, you’ll see keras_cv.models.StableDiffusion used here. To update this to Stable Diffusion 2, I simply change this to keras_cv.models.StableDiffusionV2.
model = keras_cv.models.StableDiffusionV2(img_width=512, img_height=512)I decided to use Colab forms to give myself some consistent prompt options in addition to the option of creating one from scratch.
#@title Enter or select a prompt
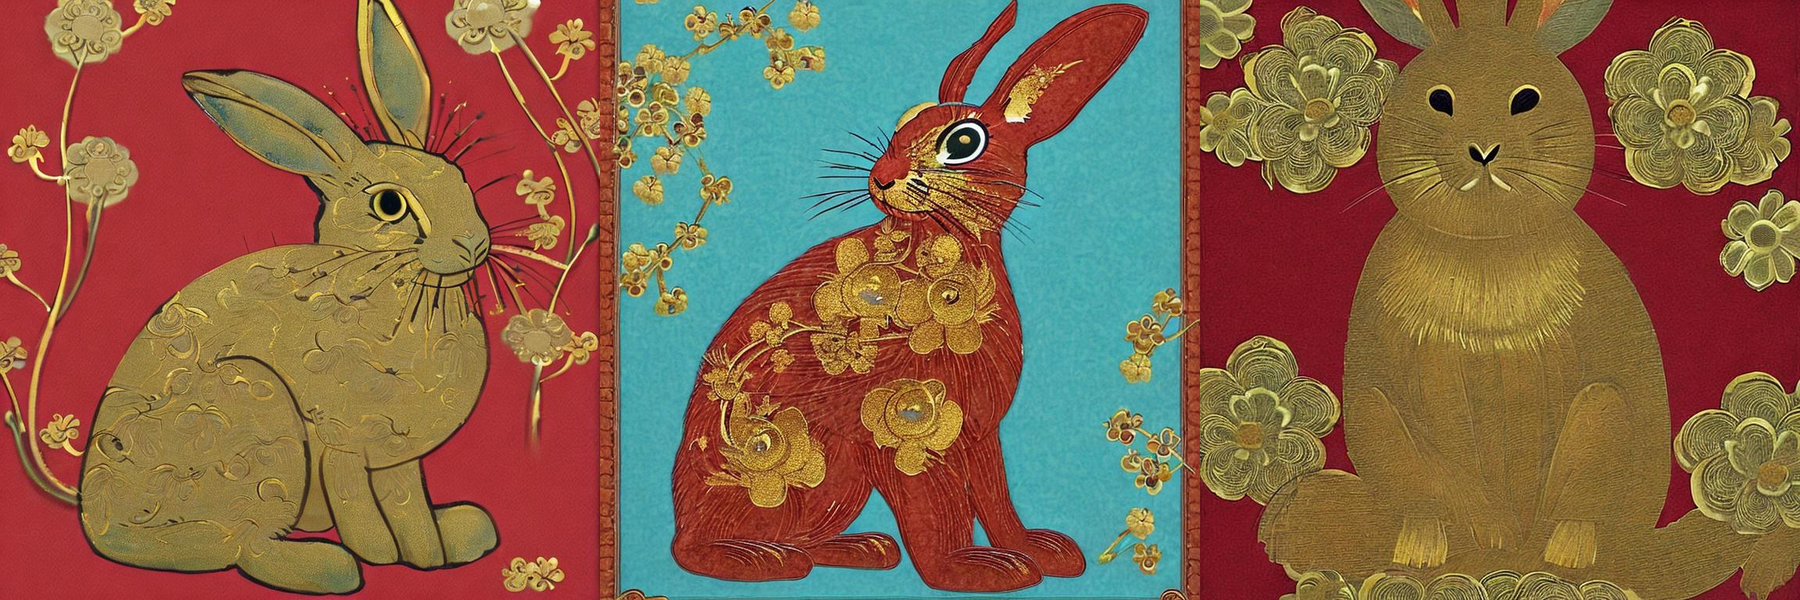
prompt = 'painting of flowers and a rabbit on a red background, ancient chinese art style' #@param ["red and gold flowers and a white rabbit, ancient chinese art style", "red flowers, gold filigree, and a rabbit, ancient chinese art style", "painting of flower and a rabbit on a red background, ancient chinese art style"] {allow-input: true}With the model instatiated and my prompt chosen, in just a couple of lines I can generate some artwork for my podcast!
images = model.text_to_image(prompt, batch_size=5)

# Plot and save all of the images
def plot_images(images):
    for i in images:
      plt.figure(figsize=(15, 15))
      plt.imshow(i)
      plt.axis("off")
      plt.savefig('rabbit_{}.png'.format(str(uuid.uuid4().hex)[:9]))

plot_images(images)
This creates and prints five generated images like the one below:
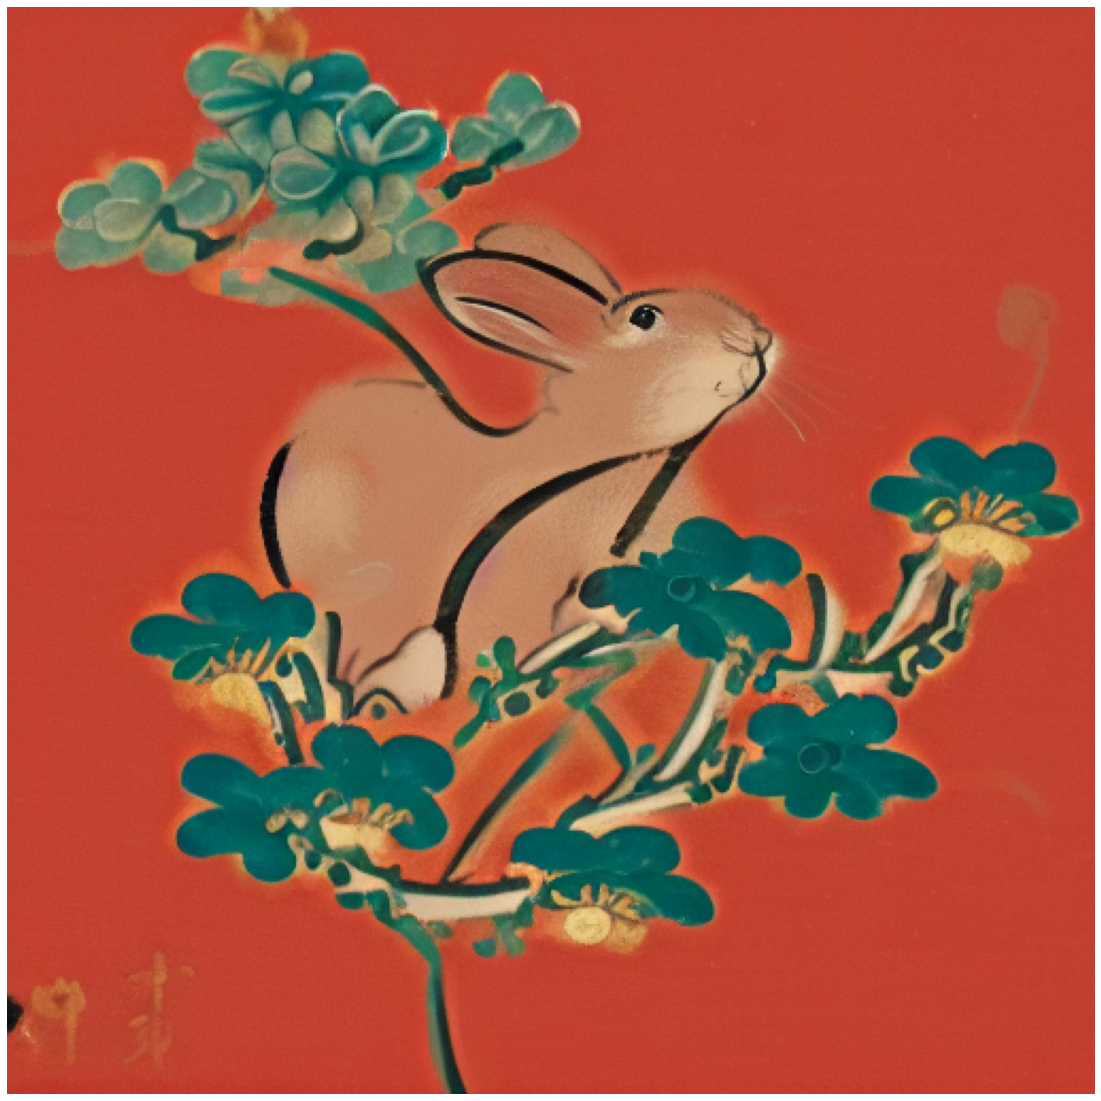
After this, I save all of the images to a Google Drive folder. I like to be able to hand pick the ones I like most to add to my Streamlit app that I use to actually make the “podcasts” (i.e., Instagram Reels). It would be nice to really quickly create an image on demand whenever I create a new episode, but that’s a bit beyond what I want to spend my personal time (and money) on and this workflow works fine for me.
path_to_files = "rabbits"
folder_id = "1CL1WE3INkPB-ektGNsXSC2hCPuczEeM1" # the folder where I want to save the generated images

# Using https://colab.research.google.com/notebooks/io.ipynb#scrollTo=jRQ5_yMcqJiV
def upload_images_to_drive(path_to_files, folder_id):
  for file in os.listdir(path_to_files):
    file_metadata = {
      'name': file,
      'mimeType': 'image/png',
      'parents': [folder_id]
    }
    media = MediaFileUpload(path_to_files + "/" + file,
                            mimetype='image/png',
                            resumable=True)
    created = drive_service.files().create(body=file_metadata,
                                          media_body=media,
                                          fields='id').execute()

upload_images_to_drive(path_to_files, folder_id)
All in all, the only annoying part for me was figuring out how to manage Google Drive files in Colab. It’s incredible how accessible generative modeling tools are by contrast. In fact, at one point I asked ChatGPT for help. ;)
My use case is pretty basic, but for more advanced applications and pipelines, there are some nice benefits of using the KerasCV implementation of Stable Diffusion beyond its utter ease-of-use. From the guide, depending on your setup, the KerasCV Stable Diffusion model can run orders of magnitude faster than its PyTorch counterpart. This is thanks to its graph mode execution, XLA compilation, and support for mixed precision computation. Note that the guide was written in Sept 2022 and I used Stable Diffusion V2 instead of V1.
Maybe next I’ll see if I can get it working on my new M1 Macbook that I just got last week (but Colab is pretty convenient for my purpose). :)
Check out the full notebook
You can see my whole notebook below and open it up in Colab to try it out yourself.
–
Reply
Share your thoughts by replying on Twitter
Here's a blog post with my notebook https://t.co/fRf5qwzjVm
— meg.ehh 🇨🇦 (@MeganRisdal) January 29, 2023