Right now I’m learning how to speak Cantonese. There are many strategies to learn a language, but using the language daily is one I hear often. This blog post is about the “micro Cantonese podcast” I’m starting on Instagram as a way to force myself to practice Cantonese every day and how I automated its creation using Streamlit, ffmpeg, and a Stable Diffusion model.
Why a “micro” podcast?
The idea was inspired by my significant other. He’s been doing yoga for a while and recently he wanted to learn how to do a headstand. We decided to take video recordings so that he’d be able to create a compilation of his attempts which would show his progress over time from kicking me in the face to fully upright and unsupported.
As I’ve been learning Cantonese, I figured a podcast would be a similar way for me to later appreciate how far I’ve come in my acquisition journey. It’ll probably take me (a lot) longer to learn decent Cantonese than it has for my boyfriend to learn how to do a headstand, but that’s okay.
How a “micro” podcast?
Once I decided to use a podcast format to document my Cantonese language learning progress, I thought of a few requirements. It should be:
- Easy to create to remove any barriers that discourage me
- Readily indexed and accessible in one place so I can easily look back at old “episodes”
- Fun to make!
I settled on uploading (very short) recordings to Instagram as the most lightweight way to get started. Maybe I can aspire to create longer form podcasts when my Cantonese is better, but for now I figure a sentence or two is about right (~10-20 seconds).
Prototyping
Prototyping involved several rounds of iterating on the idea. I first created a “prototype” by recording myself speaking in an Instagram story on my personal account. I quickly decided that I didn’t want to record my face every day. The audio on top of a static image seemed like an easy way to go, but in the spirit of wanting to have some fun, I thought a cute little waveform on top of the video would add some flair.
I did a bit of searching to see if there were apps I could use to add an audio waveform on top of an image to create a video. I found this tool called Wavve which I tested out, but the free tier was really limiting. Here’s an example (which I also posted to my personal Instagram):
At this point, I remembered ffmpeg. I had used this nice command line tool to process audio during my Master’s in linguistics (probably while I was doing a PhD, too). But, I needed to create my own images to overlay a waveform on top of. I was able to quickly create some images using a Stable Diffusion model from Hugging Face.
Creating the waveform using ffmpeg was fairly easy in two steps. First, I created a waveform from the audio file (png is important so the background is transparent):
ffmpeg -i audio.m4a -filter_complex "[0:a]showwaves=s=512x200:mode=cline:colors=White@0.75|Black@0.75:draw=full:scale=sqrt,format=rgba[v]" -map "[v]" -map 0:a -c:v png waveform.mp4;Next, I take the resulting waveform.mp4 file and overlay it on top of an image to make a video:
ffmpeg -i image.jpg -i ./input/audio/waveform.mp4 -filter_complex "[0:v][1:v] overlay=0:300" -pix_fmt yuv420p -c:a copy ./output/canto-2022-12-21-video.mp4This is what the result looked like:
Thanks to this prototyping, I had some idea of what I wanted the podcast to look like, but it was kind of a hassle to create “manually”. I realized I could automate a lot of these steps by using an app and doing so would definitely help me fulfill the “easy to create” requirement. I’m aware of Streamlit (they sponsored SLICED!), but I’d never personally used it before. Even though I’m not a Python person, this still felt like the right tool for the job so I got started.
Creating a Streamlit app
I began knowing that I wanted to start out with an MVP with some simple requirements for my Streamlit app:
- Accept an audio file
- Generate a downloadable video of the audio and its waveform overlaid on top of an image
Ready to begin coding everything up, I joked to my boyfriend that I was living the “draw the owl” meme. “Simply install Python on Windows”. Okay. Anyway, next I simply installed Python on my Windows laptop. Maybe you consider me basic at this point but I’ll remind you of two things:
- Imagine for a moment how much blood, tears, and sweat I’ve saved data scientists around the world by offering a fully managed Python Docker image on Kaggle, the product I work on
- I just attended #NormConf a few weeks ago, so I know the struggles are real!
With Python installed, I could begin! Not knowing much Python or Streamlit, I figured the best way to get a grip on things would be to find simple, publicly available examples that I could take inspiration from. I found this app which looked very simple and did many of the things I wanted to do: 1) it accepted a user uploaded file; 2) used that file to generate some other output. Browsing their code helped me learn a lot about how Streamlit works.
Finally, I began creating my MVP app! I won’t go into details of the code here, but you can check out the code on my GitHub.
Creating the MVP was quite easy. But, once I had something basic working, I wanted to make at least one additional improvement: instead of a single background image, I wanted to be able to select from a set of possible images. I thought this might be a Streamlit component that I could use out-of-the-box, but it wasn’t. Fortunately, I found someone else, Johannes Rieke (a Streamlit product manager), had created a custom image selector component. From there, it was simply a matter of using the custom component to add an image selection UI and creating a small library of images (again using Stable Diffusion hosted on Hugging Face).
# Select a background image
st.write("## Step 2. Choose a background image")

backgrounds = []

for path in os.listdir(background_input_path):
    # Check if current path is a file and add it to a list
    # All the files here should be images. They don't need to be the same size, but ideally they're square
    if os.path.isfile(os.path.join(background_input_path, path)):
        backgrounds.append(background_input_path + path)

# Image selector widget
selected_image = image_select("Background choices", backgrounds)
The resulting app is embedded below and available at this link. I also added it to a tab called Cantonese on my own website so I can easily access it from my phone where I make the recordings.
There’s a few other ways I briefly explored extending the app before I called everything done. Here’s what I didn’t do:
- Use a pre-trained model to generate new background images on the fly. I decided the expense wasn’t worth it as this would require I pay some hosting provider to make inference calls. Instead I’ll have to manually refresh the images from time-to-time, but for now I find this acceptable.
- Create transcripts. I briefly looked into using Google’s Translation API to to create HK Cantonese –> English transcripts which I could use either as captions for my Instagram posts or within the videos themselves. Similarly, I decided I didn’t want to bother paying for this. Plus, since I can’t read Chinese characters I’d have no way to verify their accuracy (risky since I’m obviously a beginning learner, not a native speaker).
Launch!
With my Cantonese podcast app ready, I now have zero excuses! I can easily create short, visually appealing videos for my Instagram every day to help me learn and record progress. I “launched” the app by creating an Instagram meglearnscanto and lightly promoting it so that I felt like I had some kind of friendly audience, even if small.
Thank you for reading! I’d also like to thank my boyfriend for his support and inspiration as well as folks on Streamlit’s forums who helped me with some troubleshooting.
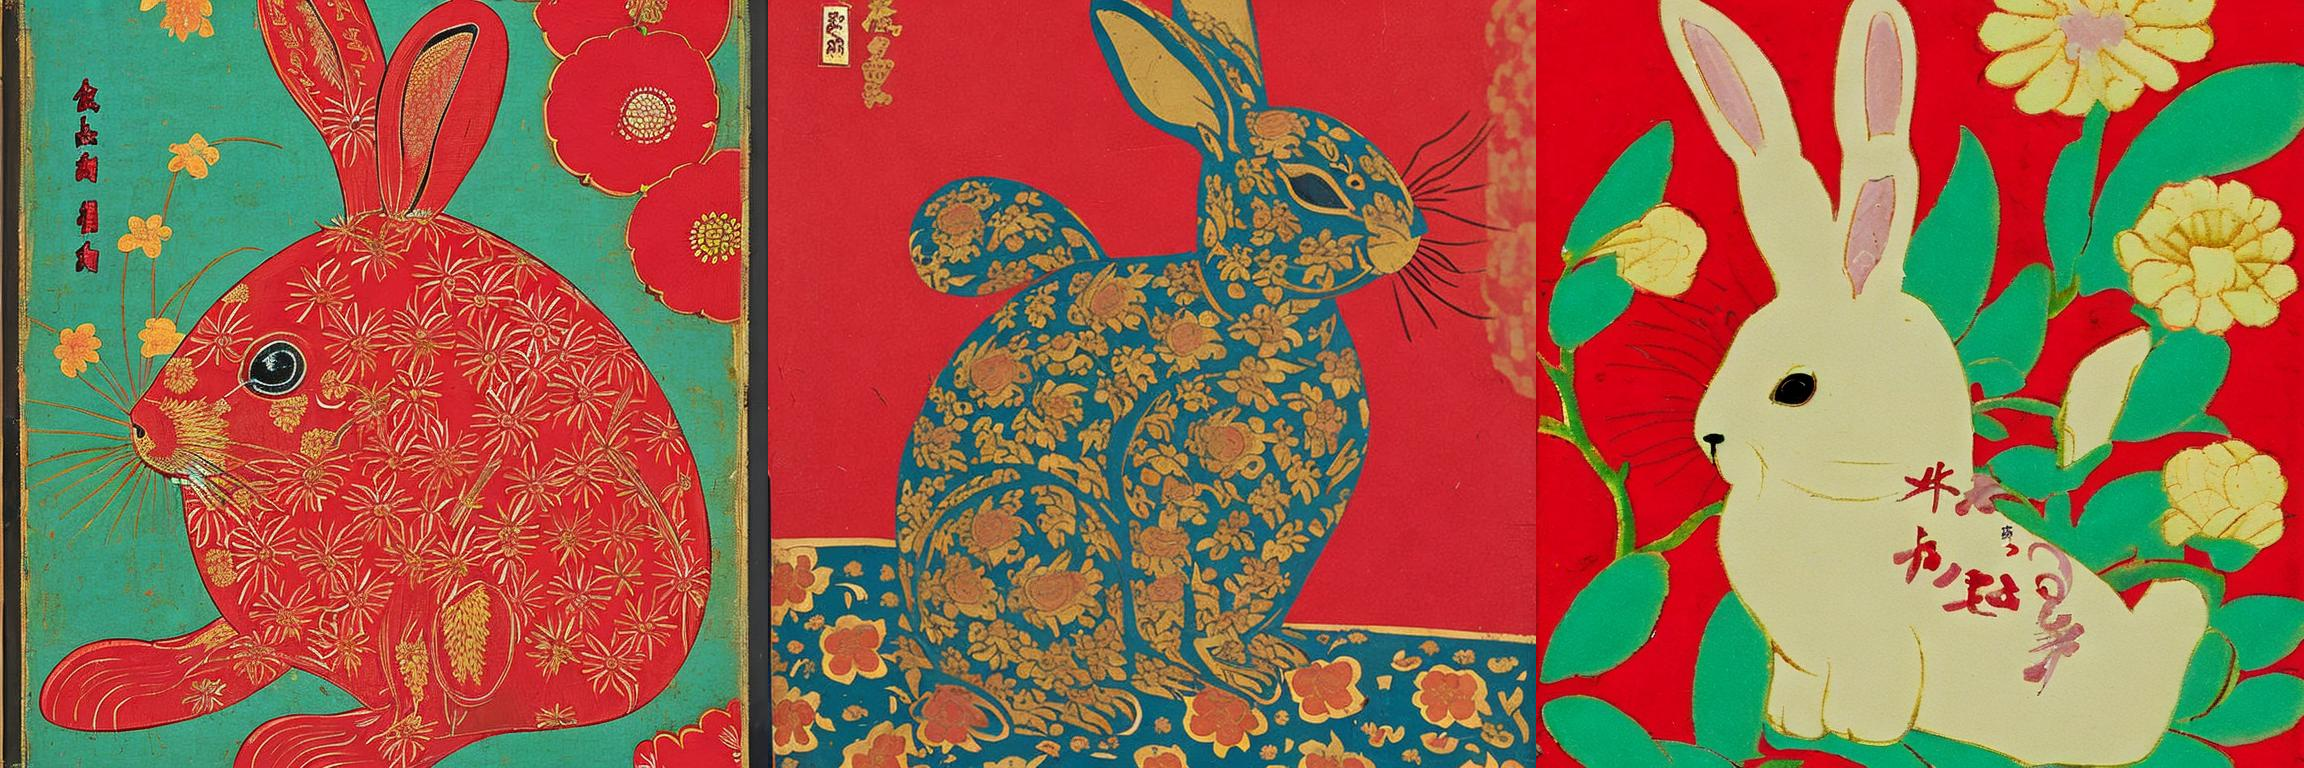
P.S. If you’re wondering what’s with all the rabbits it’s beause my birthyear is 1987, year of the rabbit. The next year of the rabbit begins in 2023!
–
Reply
Follow the conversation on Twitter.
I wrote about why and how I created my "micro Cantonese podcast" https://t.co/Ooyu3KyJ1t
— meg.ehh 🇨🇦 (@MeganRisdal) December 29, 2022
I created this post’s banner image by using another fun CLI tool, ImageMagick, to mash together three images generated by a Stable Diffusion model